Knitted Tops,Ribbed Knit Top,Knitted Vest Top,Retro Knitted Shirts SHAOXING LIDONG TRADING CO.,LTD , https://www.lidonggarments.com
Shelley has been busy experimenting with our sewing patterns once again. Today, she's sharing her expertise on how to transform a long-sleeve Shirt into a stylish short-sleeve version. Let’s dive right in!
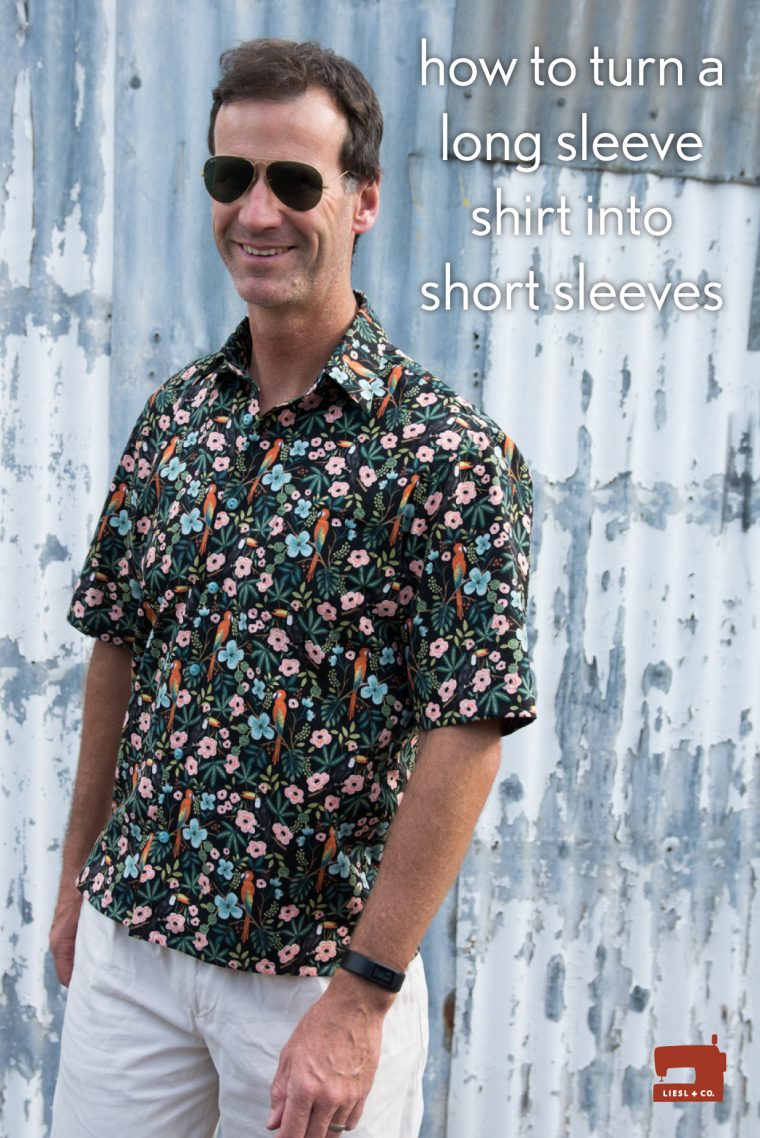
Have you tried your hand at sewing the All Day Shirt pattern yet? It's an absolute winner, and it’s quickly become a staple in my wardrobe. However, my husband needed a small tweak—shorter sleeves. Turning a long-sleeve shirt into a short-sleeve version is a straightforward pattern adjustment, but there’s a clever technique to ensure your sleeve hems look their best. As I learned the hard way, it’s always good to revisit these basics.
The only pattern piece we need to modify is the sleeve (Pattern Piece 15).
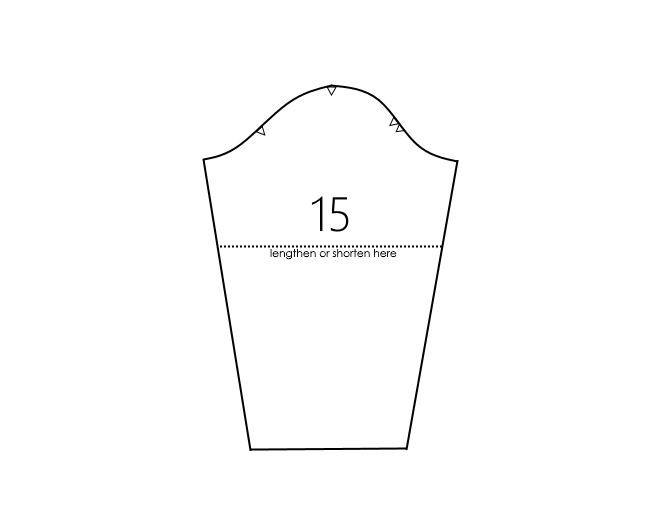
To begin, measure your partner from the shoulder to where they prefer their short sleeves to end. Alternatively, you can use their favorite short-sleeve shirt as a guide. Once you’ve determined the desired length, cut the pattern piece accordingly. Remember to account for the ½-inch seam allowance at the sleeve head. You can either measure down from the stitching line or add that extra ½ inch to your measurement. In my case, the ideal length fell perfectly on the lengthen/shorten line, which provided a handy reference for keeping my cutting line straight and perpendicular to the grainline.
Next, we’ll add a sleeve hem allowance. I opted for a double-fold hem with a 1½-inch hem allowance. My finished hem measures 1 inch deep, creating a balanced look that mirrors the 1-inch-wide button placket while ensuring the underside remains hidden when worn.
On my pattern, I drew two parallel pencil lines—one above and one below the cutting line, each 1½ inches away from it.
What we’re aiming to do is reflect the tapering of the sleeve onto the hem allowance, giving it a subtle flare. If the tapering continues onto the hem allowance, folding the hem will result in a narrow opening that’s challenging to sew without causing the sleeve to pucker. I’ll break this down further with diagrams, but there’s also a simple method to achieve this directly on the fabric, which we’ll cover later.
Draw a vertical line on each side of the sleeve that intersects the point where the sleeve side meets the uppermost line you drew earlier.
Where these vertical lines intersect the bottommost line will form the corners of your hem allowance. Now, let’s outline the final adjusted cutting lines, marked in green:
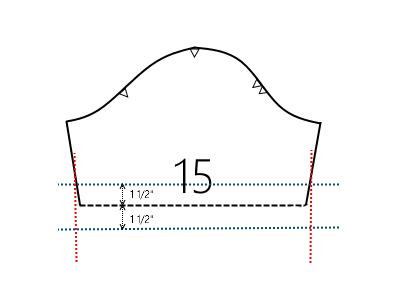
If you wish, you can trim off a half-inch (the depth of the second fold of our hem) from each corner. This aligns with the angle the hem will fold back along. When pressing up the hem allowance, you should notice that all side edges match up smoothly without any puckering or easing.

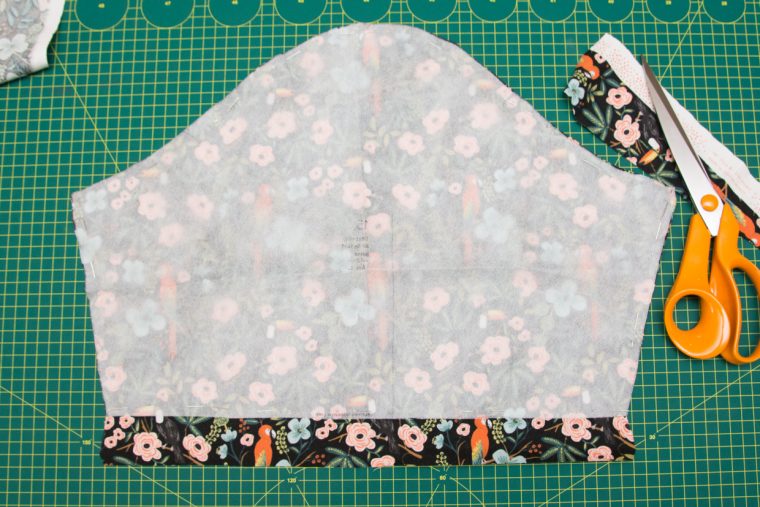
Taking the time to trace the sleeve with the updated length and hem allowance is worthwhile, especially if you plan to create multiple versions of the same shirt. However, for a quick fix, you can perform the adjustment directly on the fabric.
Pin your shortened pattern piece onto the fabric and cut parallel to the bottom edge, ensuring you’ve added your hem allowance. Avoid cutting along the sides of the sleeve just yet. Fold the fabric under along the bottom cut edge of the pattern piece so the hem allowance flips upward toward the sleeve head. Now you can simply cut along the sides of the pattern piece, and the hem allowance will naturally take on the reflected angle of the tapered sleeve.
For my husband’s first short-sleeved All Day Shirt, I kept the original curved hemlines. For the next two versions, I embraced a more tropical Hawaiian-style shirt with a straight hem. I also incorporated Liesl’s fantastic tutorial for adding side vents.

As you can see, we didn’t shy away from bold prints! There’s probably a fascinating sociology thesis lurking in the contrast between a reserved personality and a vibrant wardrobe. But for now, let’s focus on the sewing aspect.
With summer winding down, I hope I’ve sparked your imagination for the relaxed evenings and colorful party shirts that await in your sewing projects!
---
**Related Posts:**
[Insert Related Content Here]
(adsbygoogle = window.adsbygoogle || []).push({});
---
This transformation not only refreshed an old pattern but also opened the door to endless creative possibilities. Whether you’re updating a classic piece or starting fresh, don’t underestimate the power of a simple adjustment to breathe new life into your sewing projects. Happy sewing!
June 06, 2025