Bib Tights,Windproof Bib Tights,Winter Bib Tights,Thermal Cycling Bib Tights Quanzhou Oneo Sports Co., Ltd , https://www.oneosport.com
Fitting has always been my absolute favorite part of the sewing process. I consider myself a bit of a fitting enthusiast, and I tend to gravitate toward pattern reviews that delve into measurements and adjustments—though I’ll admit, I get frustrated when those details are missing.
On this blog, my mission is to break down the fitting process as much as possible. We’ve got plenty of tutorials and posts dedicated to fitting, including our ongoing Fitting Room series. However, if you’re just starting out, all that information might feel overwhelming. So today, I thought I'd share my top tips for fitting a sewing pattern, no matter your skill level.
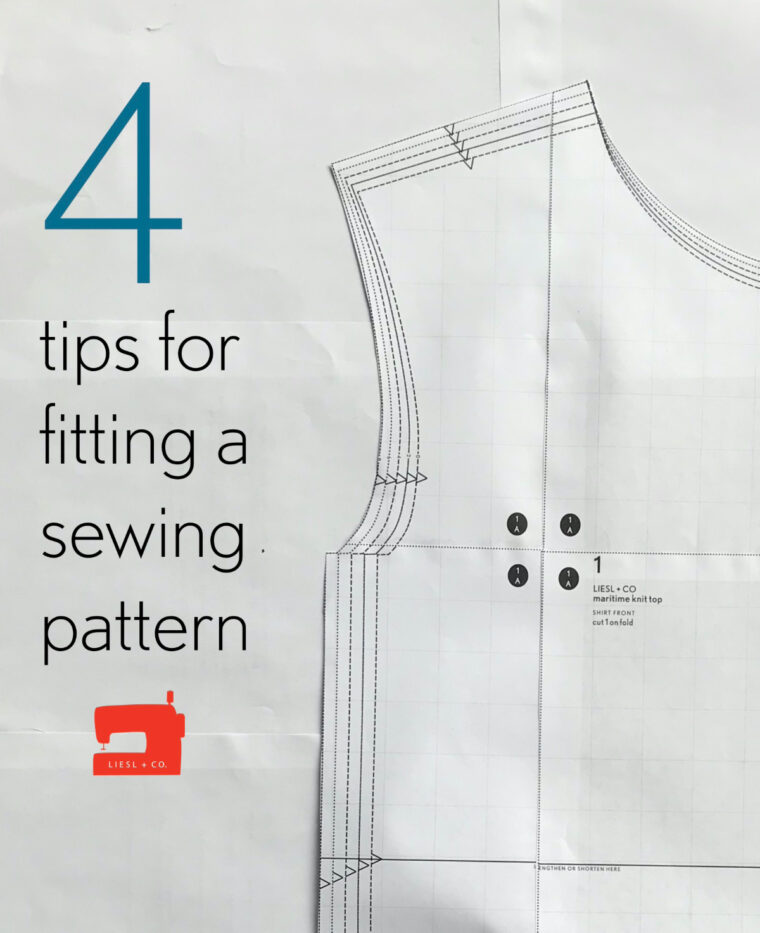
Below is a visual guide to getting started with fitting. This image highlights some key points to keep in mind when adjusting your patterns.
---
### 1. Begin Small
Fitting is all about finding what works best for **you**. You don’t have to tweak every single detail; in fact, you don’t even need to adjust anything if it already fits well. If you’re happy with the current fit, congratulations—you’re done! If not, pick one area to focus on and work from there.
Personally, I always prioritize the shoulders and bust area first. For a long time, the bust was the only adjustment I ever made. Over time, though, I realized there were other elements I needed to check. Despite that, I still have several shirts from those earlier days that fit me beautifully and remain staples in my wardrobe.
If you need guidance on bust adjustments, we’ve got tutorials covering everything from moving darts to adding bust darts to patterns. Some Liesl + Co. patterns even come with built-in full bust adjustment instructions.
---
### 2. Always Make a Muslin
I don’t believe in the “always†rule for muslins. While I rarely muslin a simple button-down shirt anymore, I did create a muslin for the bodice when I sewed the Saint-Germain Wrap Dress because its unique shape was new territory for me. I wasn’t confident enough to make adjustments on the fly.
However, if you’re working on something unfamiliar—or if you’re unsure about the fit altogether—definitely make a muslin. It doesn’t take long, and using leftover fabric or an old sheet means it won’t break the bank. Check out our guide to making a muslin for more tips.
---
### 3. Keep Track of Your Progress
A year down the road, you’ll likely forget the exact adjustments you made to that last shirt or skirt. But someday, you’ll want a reference point, so jot those details down!
For instance, I write about each project on my personal blog, including all fitting notes and measurements. This helps me refer back whenever I revisit similar patterns. Even if you don’t maintain a blog, consider keeping a notebook where you record basic fitting info. Trust me, you’ll be grateful later.
---
### 4. Embrace Imperfection
Rarely will you achieve a perfect fit without compromise. There will always be minor wrinkles or lines you wish could disappear. But remember: **you made this**. That’s incredible in itself. Odds are, your handmade garment fits better than anything you’d buy off the rack.
There you have it—my top four tips for fitting a sewing pattern. Now tell me, are you already a fitting aficionado with your own tricks? Share them in the comments below!
If you’re just beginning your journey into custom-made clothing, what challenges are you facing? Let’s chat about fitting—it’s a community effort!
---
[Ad placeholder]
---
### Related Posts
Stay tuned for more insights into sewing and fitting. Whether you’re a beginner or a seasoned sewer, there’s always room to grow!
June 03, 2025